How the Insurance Repair Process Works, from FNOL to Handback
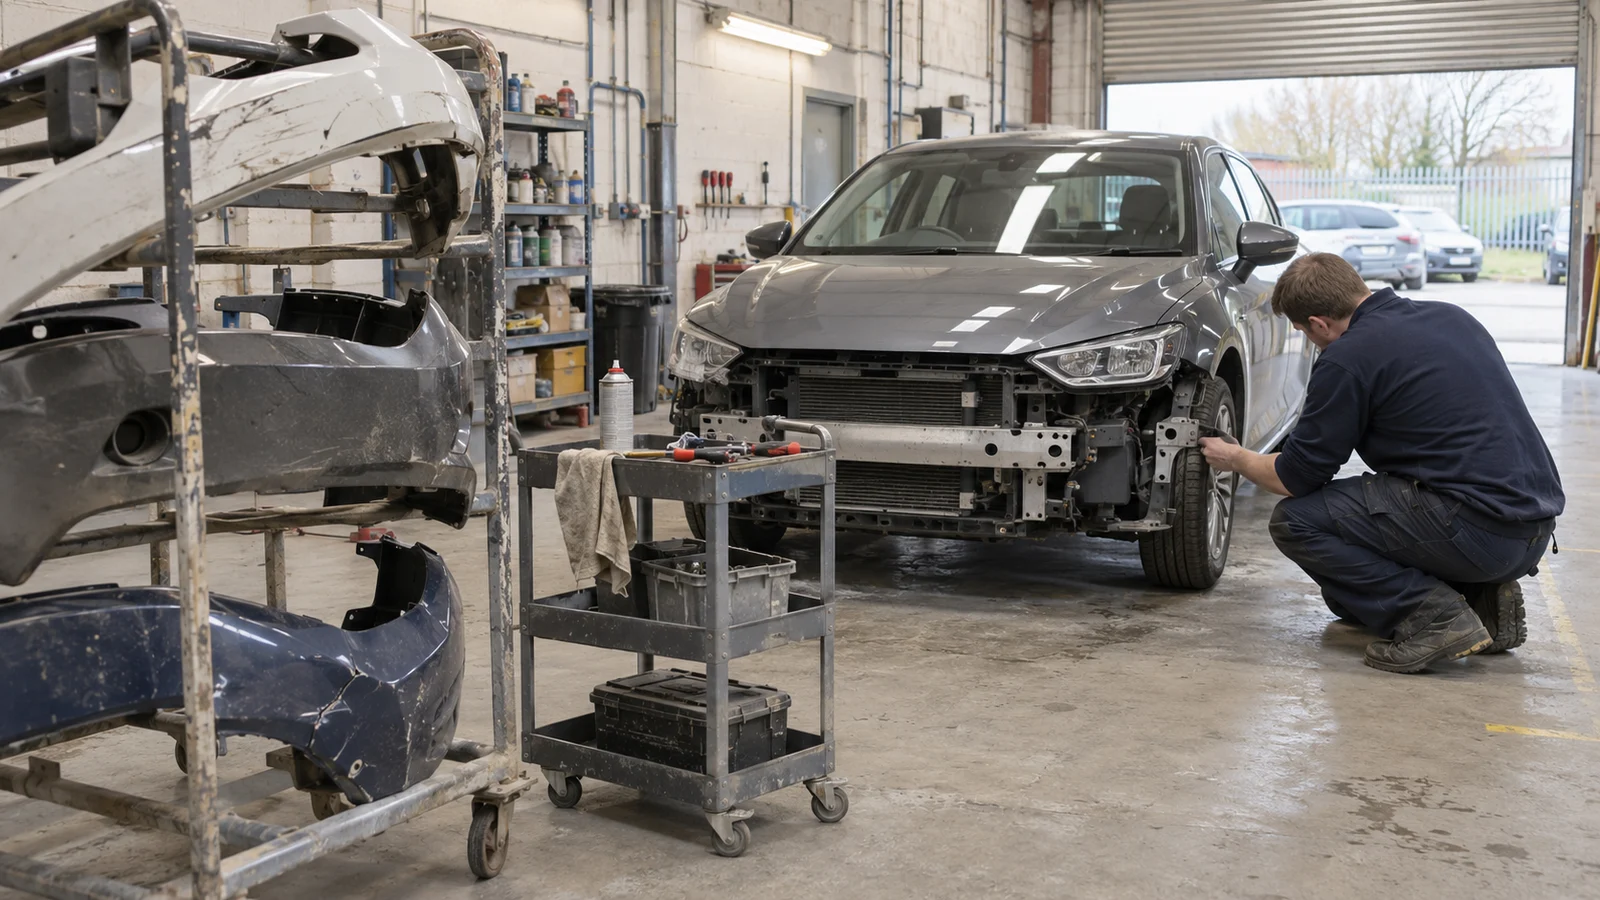
Between the bump and the day the keys come back sits a process most drivers never see and plenty of people inside the trade only see one slice of. The bodyshop sees the repair; the insurer sees the claim; the customer sees a courtesy car and a wait. Laid end to end, the journey runs through a fairly consistent set of stages — and knowing them explains where the time actually goes.
Step 1: FNOL — first notification of loss
Everything starts when the insurer learns about the incident: a call from the policyholder, a broker, a third party, or increasingly an automatic alert from the car itself. At FNOL the insurer captures the basics — circumstances, damage description, drivability, injuries — and makes its first routing decision. A well-handled FNOL sets up everything that follows; a vague one gets re-asked at every later stage.
Step 2: Triage
Next comes a rough sort: is this vehicle likely repairable, or heading towards a total loss? Photos, damage descriptions and the car's age and value feed that early call. Cars on the borderline get a closer look; clear repairs move on to deployment. Vehicles judged uneconomical to repair leave this process for the write-off route — a different journey entirely.
Step 3: Deployment to a repairer
The insurer offers its approved repairer network, where work flows under agreed standards and rates — though policyholders in the UK can generally nominate their own repairer instead, sometimes with practical trade-offs around courtesy cars and guarantees. Either way, the car and the claim now converge on a bodyshop.
Step 4: Estimate and authorisation
The bodyshop assesses the damage, builds an estimate backed by images, and submits it for engineering review. The insurer's engineer — often working remotely from the photos — agrees, queries or amends the scope before authorising the repair. Nothing chargeable should happen before this point, which is why a car can sit looking untouched for days while the paperwork moves.
Step 5: Strip-down and the supplementary
Once panels come off, hidden damage often appears: a cracked bracket behind an intact-looking bumper, a bent slider under a straight-looking wing. Additional work needs a supplementary estimate and fresh authorisation — the single most common reason a repair pauses mid-flow. Experienced shops strip early precisely to flush this out before the car occupies a ramp.
Step 6: Parts
Parts are ordered against the authorised estimate, and this is where modern repairs most often stall — back orders, superseded numbers, items arriving damaged. Sourcing has broadened in response: alongside main-dealer supply, repairers increasingly draw on trade-surplus genuine parts, such as the unused OEM stock resold through EAS Parts, which can shorten the wait without compromising on origin.
Step 7: Repair, refinish, refit
With parts on the shelf the car finally moves: panel repair or replacement, preparation, paint, reassembly, calibration of any affected driver-assistance systems. Shops working to BS 10125, the accident repair standard, follow documented methods and competence requirements throughout — one reason insurers lean on the standard when building networks.
Step 8: Quality control and handback
Final inspection, road test where needed, valet, and the handback itself: keys, documentation, any excess collected, and the repair guarantee explained. For the customer the claim ends here. For the bodyshop, one thing remains.
Step 9 (the one nobody mentions): the waste
Every repair leaves a shadow pile — the replaced bumper, the shattered lamp, the broken trims and liners. A shop that routes those into a segregated bumper collection and plastic waste collection instead of a mixed skip closes the loop cleanly, keeps its yard clear for the next job, and has a documented answer when insurers ask how waste is handled. Eco Auto Solutions provides exactly that route for repairers across all of Scotland and the North of England — details via our contact page or on 0141 260 6602.
FAQ
Do I have to use my insurer's approved repairer?
In the UK you can generally choose your own repairer, though your policy may attach conditions — a different excess, no guaranteed courtesy car, or an engineer inspection before authorisation. Approved-network repairs tend to move faster administratively because the rates and standards are pre-agreed.
Why did my repair stop halfway through?
Almost always one of two reasons: hidden damage found at strip-down triggering a supplementary authorisation, or a part on back order. Both are normal features of the process rather than signs something has gone wrong — though a good repairer will tell you which it is.
Who actually decides what gets repaired versus replaced?
The repairer proposes a method in the estimate and the insurer's engineer authorises it. Safety-related decisions follow the vehicle manufacturer's repair methods; the negotiation between shop and engineer is usually about scope and cost, not about cutting corners on structure.
Does the repair guarantee come from the insurer or the bodyshop?
It depends on the route. Approved-network repairs typically carry a guarantee backed through the insurer's scheme; own-choice repairs carry the bodyshop's own guarantee. Ask at handback and keep the paperwork — the guarantee is only useful if you can find it.